
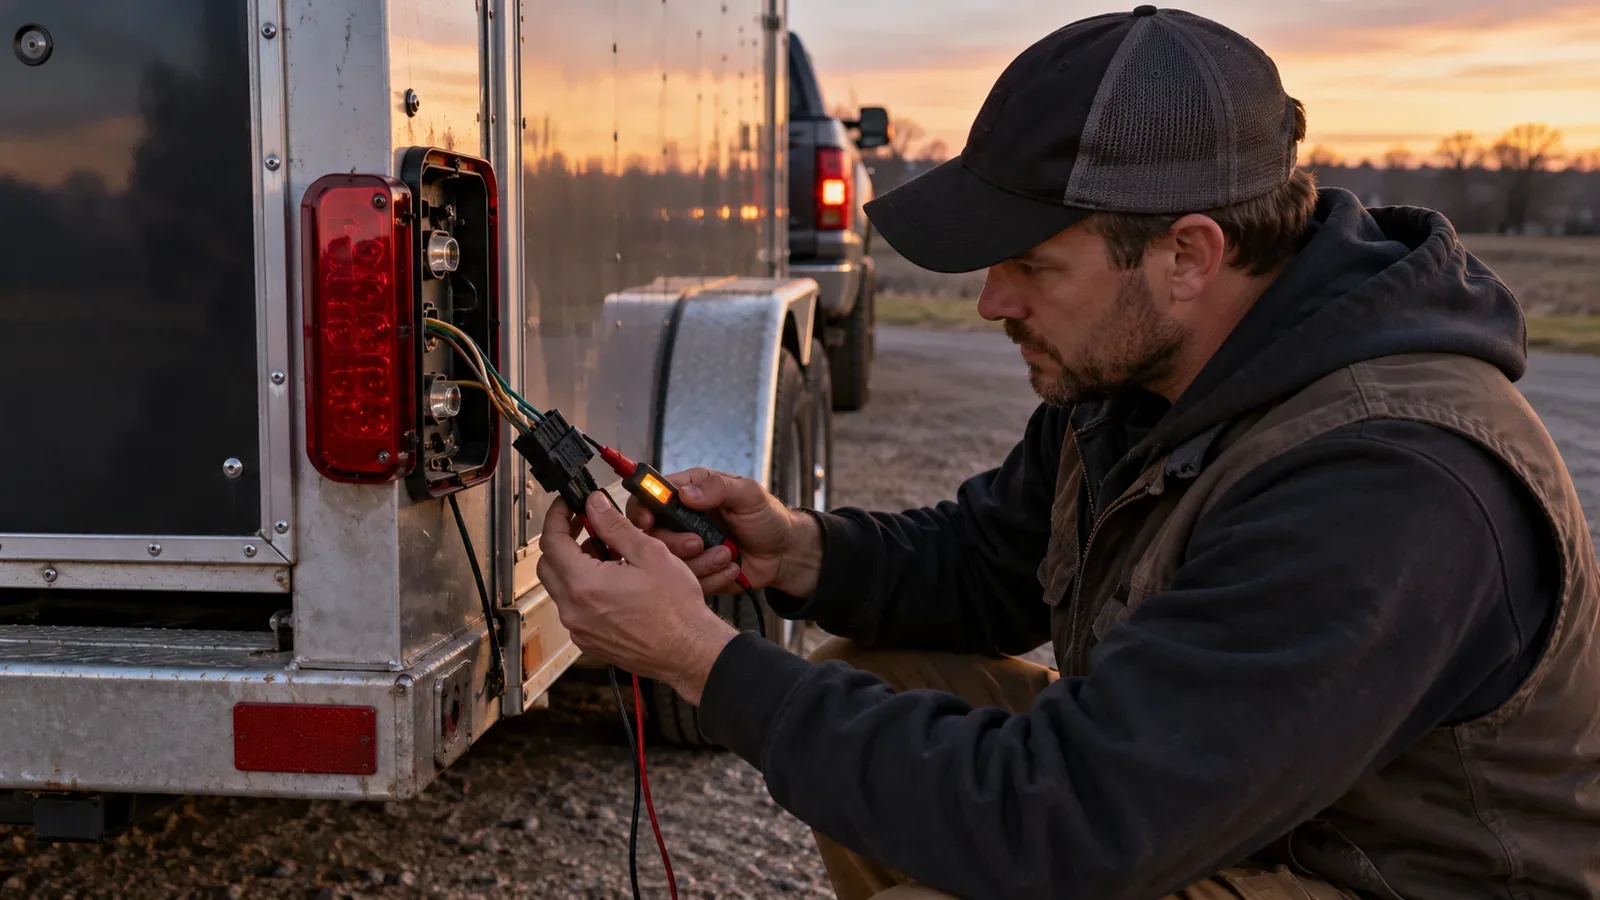
Trailer Lights Not Working? Find the Fault Step by Step
You plug in the trailer, switch on the pickup’s lights, and walk to the back. The truck lights are fine. The trailer is dark. Or perhaps the turn signal works until you press the brake, when everything begins to blink oddly.
It’s tempting to buy a new wiring harness immediately. Don’t start with parts. Start by identifying which test fails. Otherwise, you can replace perfectly good lamps while the real problem is a dirty plug or a loose ground connection.
Quick answer: Park on level ground, secure the vehicle and trailer, and test running lights, brake lights, left signal, right signal and hazards separately. Check the plug for moisture or damage. Then use a compatible trailer-socket tester, if available, to find out whether the truck is supplying the right signals. If the truck socket passes, follow the problem into the trailer; if it fails, investigate the tow vehicle or its wiring adapter. This is the same basic isolation principle used in etrailer’s wiring troubleshooting guide.
This guide is for the exterior road lights on conventional North American utility, cargo, boat and travel trailers. It is not a procedure for diagnosing electric trailer brakes or a brake controller; those are different systems. Do not tow on public roads while required lights are malfunctioning.
Start here: identify your exact symptom
Use this chart before removing a single part. Each cause is a possibility, not a diagnosis.
| What you see | First useful test | Possible direction if the test fails |
|---|---|---|
| No trailer lights work at all | Check seating and condition of the plug; test vehicle socket | No vehicle-side output, poor main ground, damaged connector or harness |
| Brake and turn work; running lights don’t | Switch truck lights on; test the running-light function at the truck socket | Failed running-light circuit, bad ground, damaged brown-circuit wire on common 4-ways |
| Running lights work; turn and brake don’t | Test left and right stop/turn outputs individually at the socket | Vehicle harness/fuse/module or both trailer stop/turn circuits |
| Only the left or right side fails | Check that side’s socket output, lamp and ground | A single bulb/LED assembly, broken branch wire or local ground |
| Lights flicker on bumps | Inspect unplugged connectors and flexible wire sections | Loose plug, weak ground, corroded joint or intermittent wire damage |
| One turn signal activates both sides | Check grounds and compare separate socket outputs | Crossed wires, poor ground or connector damage |
| Lights go dim when brakes are pressed | Check both connector grounds, then overloaded circuits | High resistance or an electrical fault requiring qualified diagnosis |
The order matters. A failed lamp doesn’t prove that every other component is sound. But a passing socket test eliminates many wrong assumptions and helps you concentrate on the trailer instead of guessing.
A 10-minute driveway check, before using tools
Ten minutes is only a convenient starting point, not a promised repair time. Work in daylight with the trailer stationary, wheels secured, parking brake on and no one standing in the trailer’s path. You may need a helper for the brake pedal and turn signals.
- Look at the tow vehicle first. Are its own rear running lights, left and right indicators and brake lights behaving normally? If not, fix the vehicle problem first. If they are normal, that still does not prove its trailer socket works.
- Inspect the trailer plug with everything off. Unplug it. Look for green or white deposits, bent or pushed-back terminals, cracked plastic, pulled wires, moisture and a plug that cannot latch securely. Never poke metal tools into an energized socket.
- Reconnect carefully. Match the correct connector type, seat it fully and confirm that the cable has enough slack for turns but cannot drag or touch hot or moving parts.
- Check each function separately. Turn on running lights; switch them off. Test left signal, right signal and hazards. Ask a helper to apply the brake pedal. Write down exactly what worked and what failed.
- Check the license-plate and side-marker lamps too. A rear lamp can appear fine while an individual clearance or marker lamp is dark. Requirements depend on trailer size and configuration, so inspect everything fitted before travel.
Use our printable trailer-light fault log to record results. When someone else helps, agree that the tow vehicle remains secured while you inspect the trailer. Do not run your hand along damaged electrical insulation while the circuit is powered.
Stop here if you find melted plastic, smoke, repeated blown fuses, exposed conductors or signs of overheating. Disconnect the trailer with power off and arrange a qualified inspection. Don’t replace a fuse with a higher-rated fuse, bridge a fuse with wire, or keep testing a circuit that heats up.
The most useful test: is the problem on the truck or the trailer?
This is where many guides jump to a wiring-color chart. That is premature. First establish which half of the combination isn’t passing a signal.
If you have a compatible plug-in socket tester
A tester made for your vehicle’s exact connector type can indicate whether the vehicle sends a signal when you switch a function on. Follow its manufacturer’s directions. A basic indicator tester may show that a signal exists; it does not certify the entire system under load.
- No signal at the truck socket for a particular function? Check the vehicle owner’s manual for the relevant trailer-light fuse or relay, a factory tow-package setting, trailer module or aftermarket adapter. Do not assume the vehicle’s own taillamps share the same fuse as the trailer outlet.
- Correct signal at the truck socket, but the trailer doesn’t respond? Inspect the trailer’s plug, wiring, main ground, branch grounds and the affected lamp.
- Signals change when the plug is moved gently? With power off, inspect the connector and the short flexible harness behind it. Don’t treat momentary light operation as proof of a safe repair.
If you don’t have a tester or aren’t familiar with electrical testing, a trailer shop or auto electrician can perform these checks. A known-good compatible trailer or known-good tow vehicle can also help isolate the problem, but only if both combinations are correctly rated and safely stationary.
Caution about meters: An ordinary voltage reading doesn’t always reveal a weak connection under electrical load. Modern vehicles may also use trailer-detection modules that behave differently without a trailer attached. Interpret uncertain results using the vehicle and tester instructions rather than forcing a wiring change. etrailer’s four- and five-way troubleshooting covers vehicle modules, fuse-related faults and ground verification.
If the truck socket has the right signal
Follow the failed circuit from the trailer plug toward the rear of the trailer, not randomly from lamp to lamp.
Inspect the plug strain relief; places where cable passes through a frame hole; the trailer tongue and any folding hinge; connectors near the axle; and the last short section entering the lamp. Look for crushed insulation, bare copper, green corrosion, loose splices or cables rubbing on the frame. Boat trailers also deserve careful inspection for moisture-related damage after water exposure.
Do this visual inspection with the trailer unplugged. If diagnosis requires energized electrical measurements, use the correct test equipment and procedures or have a qualified technician handle it. A failed test at one point helps narrow the fault to a section; it does not justify bypassing the damaged portion with an improvised wire.
Why the ground connection causes so many strange symptoms
A lamp needs a complete electrical circuit. If the return path (ground) is rusty, loose or poorly connected, electricity may fail to return normally. That can produce dim lights, flicker, one function affecting another, or lights that work only intermittently. etrailer documents these symptoms in its ground-connection guide.
Start with two separate checks, with power disconnected:
- Trailer main ground: Follow the trailer connector’s ground wire to its attachment point. Check for loose fasteners, corrosion, paint between the electrical contact surfaces or a damaged terminal.
- Individual lamp grounds: Some lamps ground through their mounting hardware; others have dedicated return wires. Verify the design before assuming that a metal lamp housing grounds itself.
A folding tongue, tilt bed, aluminum body or heavily painted frame can interrupt an assumed metal-to-metal ground path. A properly sized dedicated ground path may be appropriate, but choose a repair consistent with the trailer and component manufacturers’ instructions. Never use the safety chains as a substitute for an electrical ground.
If the system works after a connection is cleaned and securely restored, test every light function again. One working brake lamp isn’t evidence that the running lights, hazards, clearance lamps and the other side have all recovered.
The 4-pin versus 7-pin trap: don’t trust a color alone
For a typical North American four-way flat trailer connector, CURT identifies white as ground, brown as tail/running lights, yellow as left stop/turn and green as right stop/turn. The plug may have more physical wires than four in a wishbone harness while still carrying the same four functions.
However, seven-way RV blade connectors can use different wiring color conventions. Seven-way RV blade and seven-way round-pin connectors also are not the same plug. The only safe shortcut is to identify your actual connector and consult its specified diagram, as CURT’s connector guide emphasizes.
| Connector you have | What to do | What not to assume |
|---|---|---|
| Common 4-way flat | Confirm each of four lighting/ground functions | Every wire color has been preserved after a repair |
| 7-way RV blade | Look up the correct vehicle/trailer diagram | A traditional color layout matches the SAE layout |
| 7-way round-pin | Use its own connector diagram | It has the same pin arrangement as RV blade |
| Adapter from one type to another | Verify compatibility and supported functions | A passive adapter provides equipment or controller functions the vehicle lacks |
Do not cut, splice or reassign wires by looking at a diagram for a different connector. If the wiring is unknown or modified, identify the functions by manufacturer documentation and testing before replacing anything. This article deliberately does not publish a universal seven-way pinout, because doing so would be misleading.
Work through three real-world-type scenarios
These are illustrative diagnostic examples, not customer reports or tests performed by our editorial team. They show how a small decision changes where you look next.
Example A: a utility trailer has no running lights
Your truck’s brake lamps and indicators work, and so do the trailer’s turn signals. The running lights remain dark even with the headlights on.
Wrong first move: Buy four replacement side-marker lights.
Better sequence: Check the running-light function at the truck’s trailer socket. If the socket output is absent, investigate the vehicle-side circuit and its correctly rated fuse or tow module. If output is present, inspect the trailer plug, main ground, then the running-light feed from the plug toward the first affected lamp. A specific etrailer running-light example explains why the first branch of a shared circuit matters.
What you learned: Several lights failing together point toward a shared supply or ground, not necessarily four independent lamp failures.
Example B: one signal makes both sides blink
The trailer’s left blinker illuminates both rear lights. The problem becomes more visible when the running lights are on.
Wrong first move: Assume the wrong replacement bulb was installed.
Better sequence: Document exactly when the cross-activation occurs. Check both ground points and inspect for connector corrosion or wires contacting one another. Confirm separate left/right outputs at the tow vehicle socket before opening the trailer harness. If the ground is restored or a wiring defect repaired, retest all functions, including brakes and hazards.
What you learned: An unusual combination of symptoms can come from a shared return path or crossed circuits, so checking one bulb isn’t enough.
Example C: the lights go out only on bumps
A cargo trailer passes a stationary lighting check but flickers when its tongue is moved slightly or after a rough road. You notice that the connector cable is stretched tight near a bend.
Wrong first move: Accept a quick wiggle that makes the lamp turn on as a completed repair.
Better sequence: Stop and inspect the flexible section with power off. Check for a partially disconnected plug, pulled pin or pinched wire around the tongue. Secure or replace damaged components properly, leaving a safe movement loop and protecting the cable from abrasion. Do not resume towing until the entire light check passes consistently.
What you learned: A fault that comes and goes is still a fault, even when a stationary test briefly passes.
Repair priorities: what to fix, replace or leave to a technician
| Finding | Reasonable next action | When to hand it over |
|---|---|---|
| Dirty but undamaged plug | Clean using connector-approved methods with power off, dry and retest | Corrosion is deep, contacts are loose or heat-damaged |
| Loose or corroded ground | Restore an approved clean, secure connection and retest | Frame material, grounding design or wiring path is uncertain |
| Failed replaceable bulb | Replace with correct type and confirm the socket is sound | Light housing has water damage or multiple circuit issues |
| Failed sealed LED unit | Check supply and ground; use manufacturer-approved replacement | Vehicle monitoring modules or compatibility problems are suspected |
| Blown trailer-light fuse | Find cause and replace only with specified rating | Fuse blows again or wires warm up |
| Damaged or pinched wiring | Repair to automotive/trailer wiring standards | Exposed conductors, shorts, inaccessible cable or complex modules |
A brand-new LED lamp can still be connected to a bad ground. A brand-new wiring harness can still be attached to a vehicle that isn’t outputting the needed signal. Only replace a part after a test gives you a reason.
For buyers shopping for a used trailer, add the entire lighting test to your inspection before paying a deposit. And if a trailer also has electric brakes, evaluate those separately using our guide on whether trailer brakes are required. Working brake lights are not proof that trailer brakes work.
Use the printable fault log before the next trip
The Trailer Light Fault-Finding Sheet records five things that are easy to forget: the symptom, the actual connector, the truck-socket result, the trailer-side result and what was repaired.
It has a before-and-after test grid. Keep a copy with your trailer documents so that, if the issue returns after winter storage, you can compare the new symptom with the earlier one rather than starting over. You don’t need to buy a meter to fill it out; write not tested where a qualified electrical measurement hasn’t been made.
Before moving, confirm all installed and required exterior lamps, including clearance and license-plate lamps where applicable, work correctly. If one required function is unreliable, leave the trailer parked. That is more valuable than guessing whether a little daylight makes a missing light acceptable.
Final takeaway: locate the first failed test
When trailer lights fail, first describe the failure, then separate the tow vehicle from the trailer, and only then choose a repair. Check the connector and ground before replacing several lamps at once; use the correct 4-way or 7-way documentation; and repeat the full lighting check after every repair.
The purpose of this process is to help you make a safer, more informed decision—not to replace a wiring inspection or claim that every electrical fault can be fixed with a single trick. If you also need to review your overall towing setup, start with your truck’s towing limit and the trailer’s actual loaded weight before your next trip.