
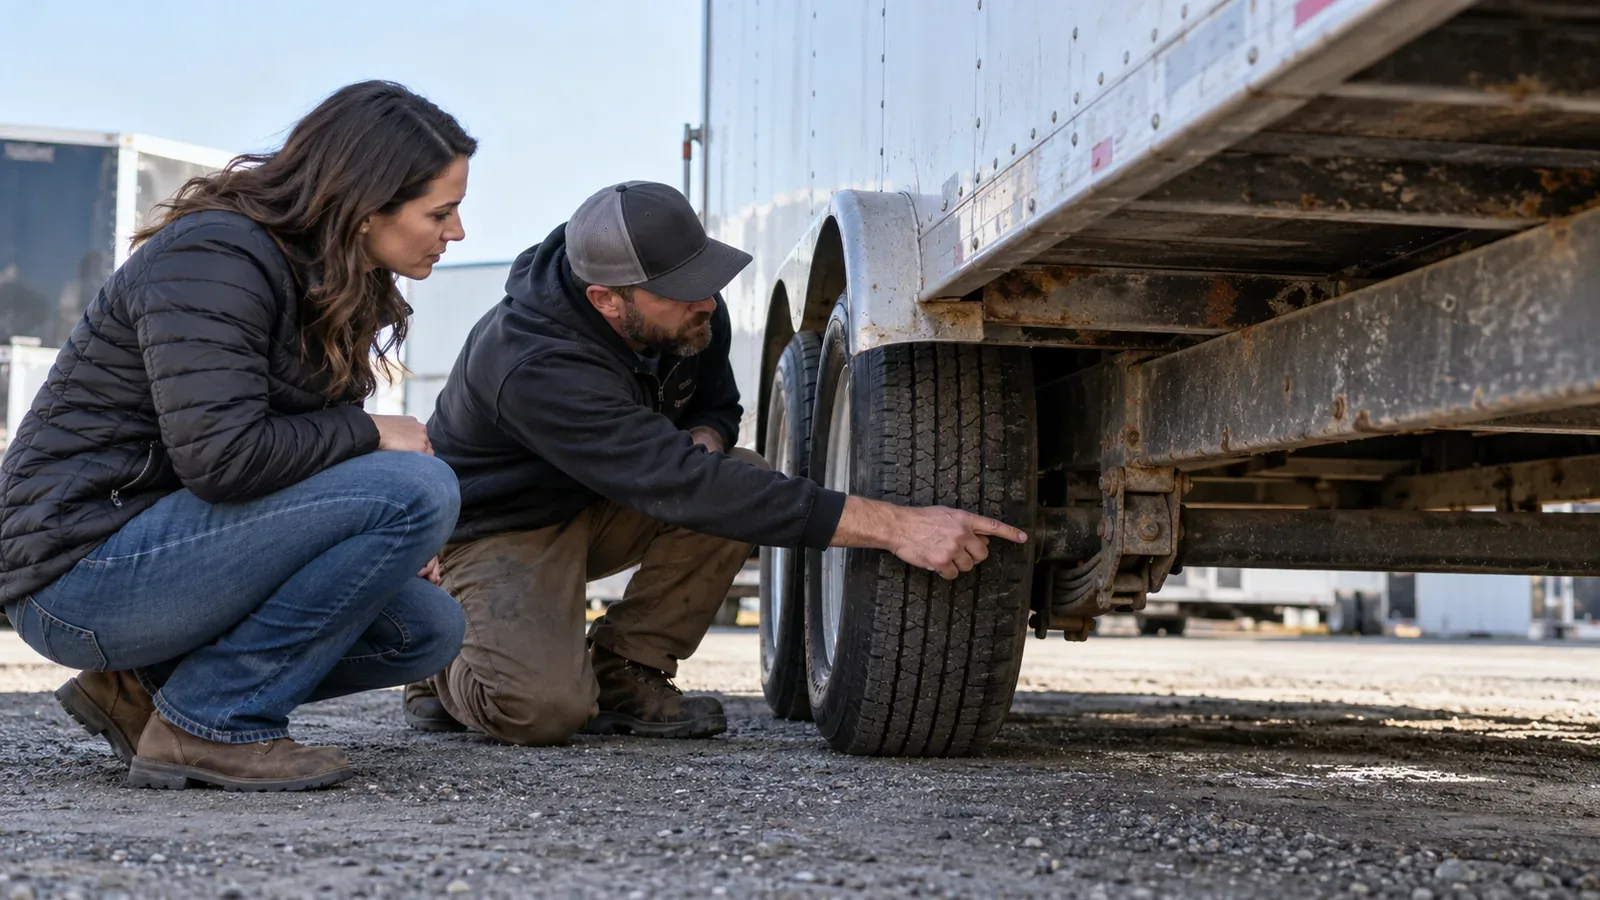
Used Trailer Inspection Checklist: 12 Checks Before You Buy
A used trailer looks clean in the photos. The seller says it “just needs a light fixed.” You drive an hour to see it, find a fresh coat of paint on the frame, and notice that the paperwork is in somebody else’s name. Is it still a bargain?
Maybe not. The way to buy a good used trailer is to check the expensive and difficult-to-fix problems before talking yourself into the price. A scratch in the paint is one thing. A damaged frame, missing ownership documents or ineffective brakes can make an otherwise appealing trailer the wrong purchase.
This guide covers common U.S. utility, enclosed cargo, landscape, equipment and small boat trailers. It is not a substitute for a professional inspection of a heavy commercial semitrailer or the habitation systems of a travel trailer. State title and road-use rules vary, and component specifications depend on the actual trailer.
In a hurry? First match the identification and documents, then inspect the frame and axles. Confirm tires, coupler, lights and brakes, request service history, and price the required work. If the seller cannot establish ownership or a safety-critical defect cannot be evaluated, do not pay or tow it away.
Download the used-trailer inspection and purchase worksheet to record two listings side by side. You can print it or use it as a note-taking template on your phone.
The 12 checks: what to look at, and what each finding means
You do not need to be a mechanic to notice missing identification, tire damage or a suspicious weld. You do need to know when to stop and get someone qualified involved.
| Check | What you can examine on-site | What to do if it fails |
|---|---|---|
| 1. VIN and ownership | Identification plate or stamping matches documents and seller | Pause purchase until DMV/ownership questions are resolved |
| 2. Capacity label | GVWR, axle ratings, tire specification and manufacturer | Ask for manufacturer verification if absent or altered |
| 3. Frame and welds | Twist, cracks, rust-through, bent rails, unexplained repairs | Walk away or obtain a qualified structural assessment |
| 4. Coupler and tongue | Ball-size marking, latch, jack, deformation | Do not tow with damaged or incompatible parts |
| 5. Safety chains | Correct attachment, intact links and hooks | Replace or assess before any road trip |
| 6. Axles and suspension | Bent parts, odd ride height, spring and hanger damage | Request professional inspection and estimate |
| 7. Wheel bearings and hubs | Visible seal leakage, service records, abnormal play | Professional inspection before towing if suspicious |
| 8. Tires and wheels | Size/load ratings, cracks, uneven wear, date codes | Budget replacement or investigate suspension alignment |
| 9. Brakes and breakaway | Presence, correct system, wiring, maintenance and function | Verify with a qualified technician before use |
| 10. Lighting and plug | Brake, running and turn lights; cable damage | Repair before road use; check vehicle compatibility |
| 11. Deck, floor and body | Rot, soft spots, water damage, doors, ramps and latches | Get repair scope and load-rating consequences assessed |
| 12. Price and transfer | Quotes, taxes/fees, registration and delivery plan | Compare the real ready-to-use cost, not just asking price |
Safety note: Inspect a stationary trailer on stable, level ground with its wheels chocked. Do not crawl underneath or lift it with an ordinary jack during a viewing. Dexter’s inspection guidance warns never to work beneath a unit supported only by a jack. Leave lifting, brake teardown and bearing checks to properly equipped professionals.
Before you drive to the seller: ask for five things
A few messages can save a wasted trip. You can send a normal, straightforward request:
Could you send the trailer’s year, make and model, a clear photo of the VIN/manufacturer label, the paperwork you will transfer, and a description of any axle, brake or frame repairs? I’d also like to know when the bearings and brakes were last serviced.
The answers tell you what to research next. Request clear photographs, not a typed VIN alone. Ask whether the seller owns the trailer and is authorized to sell it, whether a lien remains, and what items are included in the advertised price.
Take a small flashlight, phone camera, tire-pressure gauge and your worksheet. A helper can operate the lights while you watch them from behind. Do not bring tools to dismantle someone else’s trailer unless you have agreed on a professional inspection.
If the seller refuses to show identifying documents or says the VIN plate “fell off” without a credible path to verification, skip the trip until that is resolved.
VIN, title and GVWR: the paperwork check comes first
Start with the physical label or stamping, often on or near the tongue/frame for a manufactured trailer. Photograph it and compare the actual characters with the title, registration or other legally appropriate ownership documents. Look for damaged rivets, obliterated numbers, conflicting labels or recently painted-over identification. An unreadable label is not proof of wrongdoing, but it is a problem to resolve rather than ignore.
The manufacturer label may also give GVWR (maximum rated gross trailer weight), GAWR (rated axle weight) and tire information. NHTSA’s certification-label explanation identifies GVWR, GAWR, manufacturer and VIN as key label fields. The ratings tell you what the trailer was designed to carry; they do not tell you what it actually weighs today.
There is no universal “all trailers need a title” rule across the United States. Texas, for example, distinguishes trailer type and gross weight and has different ownership-document requirements for certain trailers at or below 4,000 pounds versus heavier manufactured units. Review the Texas DMV trailer guidance for that state; check the appropriate DMV for your transaction rather than copying Texas rules elsewhere.
You can also search NHTSA’s recall portal using the VIN when supported. A clean search is not a guarantee of accident-free history, clear title or no defect; its coverage has limits. Keep the VIN result, any recall remedy documentation and the seller’s maintenance paperwork together.
When to pause instead of negotiating
- The VIN appears tampered with, or the numbers cannot be reconciled with the documents.
- The seller is not the documented owner and cannot demonstrate authority to sell.
- A lien is mentioned but no clear release or transfer process is provided.
- The trailer’s identity or capacity has changed after a rebuild and the paperwork is inconsistent.
None of these is a “knock $200 off” issue. Resolve ownership and identification before exchanging payment.
Frame, coupler and tongue: inspect the parts that carry the load
Walk slowly around the trailer at eye level. Sight along both frame rails. Do they appear straight and consistent? Look at joints, crossmembers and welds from accessible positions. Surface discoloration can be ordinary use. Rust-through, cracks, torn metal, visible bends or improvised structural repairs require a professional opinion. Fresh paint can be harmless maintenance—or it can hide damage. Ask what was repaired and why.
Check the coupler’s marked ball size and any capacity marking. The latch should operate properly and have an appropriate way to secure it. Inspect the trailer tongue, jack mounting, safety-chain attachment and hooks for deformation, corrosion or missing parts. Never assume that a coupler is safe because you can place it over a ball.
CURT’s trailer hookup checklist covers matching the ball and coupler, locking the latch, securing safety chains, testing lights and checking the brake controller. Use it after inspection, not as permission to tow a visibly damaged trailer.
For an enclosed trailer, check the bottom of the front wall, door-frame corners and the floor where rainwater could collect. On a landscape or equipment trailer, examine ramps, hinges, locking pins and tie-down anchor points. A bent ramp can be a loading hazard even when the main frame is intact.
Axles, bearings and tires: spot expensive problems early
Look at the trailer from behind. Does one side sit lower? Are the tires tilted differently? Are the axles, suspension hangers and leaf springs visibly damaged? Uneven tire wear can be a clue to underinflation, overloading or alignment problems—but it is not a diagnosis on its own.
Examine accessible hub areas for grease or oil leakage, and ask when the wheel bearings and seals were last serviced. A clean hub exterior does not prove the bearings are healthy. Dexter’s maintenance schedule lists recurring inspections of bearings, hub/drum wear, springs, hangers and tires. If you see an obvious leak or suspect bearing play, arrange a qualified inspection rather than towing to “see how it feels.”
For each tire, photograph the size, load range and DOT date code when accessible. Check cracking, bulging, cuts, uneven wear and wheel damage. NHTSA explains that tire age and condition matter even when tread depth looks acceptable. Its tire safety guidance also explains how the last four digits of the DOT tire-identification number indicate the manufacturing week and year.
Quick example: You see fresh tires on one axle and badly uneven wear on the other. That is a reason to investigate load distribution, suspension condition and axle alignment. Do not accept “I just put new tires on it” as proof the running gear is sound. For the pressure and load-label checks, use our separate trailer tire pressure guide.
Brakes, breakaway system and lights: demand a real check
First find out whether this exact trailer is fitted with electric brakes, hydraulic surge brakes or another system. A connector with seven contacts does not prove functioning brakes. Ask about the controller, breakaway battery/switch if fitted, service history and any warning lights or faults.
A seller may show that the trailer’s lights illuminate, but that is not the same as showing the brakes operate correctly. Do not conduct a road test if the trailer’s safety and legal requirements have not been checked. Dexter calls for brake-function checks and inspection of brake wiring and breakaway systems as part of trailer maintenance. If braking is uncertain, have it checked by a qualified technician before towing.
For lighting, have someone operate the vehicle’s parking lights, turn signals and brake pedal while you observe. Look for cracked lamps, damaged cable routing, pin corrosion and improvised splices. Our trailer light troubleshooting guide covers how to isolate those faults without making unsafe electrical changes. The trailer-brake requirements guide covers the separate question of whether brakes are required for a particular combination and jurisdiction.
Do not assume the seller’s tow vehicle and your own have identical wiring or brake-controller capabilities. Check compatibility before you plan how to bring the trailer home.
What a used trailer is really going to cost
The asking price is only the first line in a useful comparison. A low price may be offset by tires, brake work, bearings, floor repairs, title fees, professional inspection and safe transport. Get written estimates for significant repairs from relevant local professionals; the examples below are arithmetic, not current repair-price quotations.
| Cost to record | Trailer A | Trailer B |
|---|---|---|
| Asking price | $2,850 | $3,550 |
| Quoted necessary repairs | $900 | $150 |
| Transfer/registration allowance | $175 | $175 |
| Inspection/transport allowance | $125 | $125 |
| Illustrative ready-to-use total | $4,050 | $4,000 |
Invented figures for teaching the calculation only, not an estimate of what repairs, trailers or DMV fees currently cost.
Trailer B costs $700 more up front but $50 less after the assumed repairs and fees. If Trailer A also has unresolved axle damage, the financial comparison is not complete. The cheapest number is rarely enough information to choose safely.
For your own listing, use this formula:
Ready-to-use estimate = asking price + verified repair quotes + transfer/registration costs + inspection/transport + other required equipment.
Keep uncertain costs separate, rather than quietly entering zero. For example, write “bearings not inspected — estimate pending.” Consider the price of a comparable new trailer with equivalent capacity and equipment, not just the cheapest trailer in a dealer’s inventory. A new unit can still require registration and some accessories; make the comparison like-for-like.
Printable two-trailer comparison worksheet
Three buying situations, and the decision each calls for
These are illustrative situations, not quotations from owners or verified transactions.
Case A: Clean body, mismatched identification
An enclosed trailer looks recently refurbished. The paperwork shows one serial number, but the frame has a different one. The seller says the original frame was replaced after an accident and promises that “the DMV won’t mind.”
Decision: Stop. Ask for the legally required reassignment/rebuild documentation and contact the relevant DMV. Do not pay for a promise that ownership will transfer. The cosmetic condition does not fix an unresolved identity problem.
Case B: Good price, uncertain axle maintenance
A utility trailer is priced below comparable listings. Its tires show uneven wear; the seller cannot document bearing service and one hub has visible grease around the back. The lights work, but nobody has inspected the axle.
Decision: Request an independent running-gear inspection and written repair estimate. If the seller refuses, the advertised discount is not enough reason to accept an unknown safety-critical condition. Dexter’s axle-inspection guidance explains why seals, axles, brakes and tires need more than a glance.
Case C: Two similar trailers, different true costs
The first trailer is listed for $2,850 but needs documented tire and brake work. The second costs $3,550 and needs only minor work, assuming professional checks find no hidden faults. Your worksheet produces totals of $4,050 and $4,000 using the illustrative estimates above.
Decision: Compare completed, road-ready costs and condition—not the advertised price alone. Then check that the trailer’s actual capacity, deck size and coupler fit your use. Saving $50 is not worth accepting a lower-rated or unsuitable trailer.
Before you hand over money: a practical closing sequence
- Verify the seller and identification. Compare physical VIN/serial markings with the transferable documents and resolve any lien or title questions with the relevant authority.
- Review the written inspection. Mark unresolved structural, braking, bearing or tire issues. Any safety-critical uncertainty requires competent assessment before use.
- Confirm the capacity. Compare the trailer’s GVWR, empty weight where reliably known, tire/axle capacities and intended cargo to the towing vehicle’s limits. See how much a trailer weighs and how much your truck can tow.
- Agree on written terms. Record the identifying details, agreed price, included accessories and who is responsible for outstanding defects. Use state-required forms.
- Plan the trip home safely. Confirm registration or movement authorization, insurance where applicable, hitch compatibility, lights, tires, brake functionality and the correct connection. If those cannot be confirmed, arrange transport rather than towing it yourself.
You can walk away at any point before a binding purchase. There will be another listing. A trailer with known, manageable cosmetic wear is often easier to evaluate than a shiny one with no service history and vague answers.
What this checklist cannot tell you
A walk-around cannot measure internal bearing wear, establish frame geometry, confirm hidden corrosion or guarantee clear ownership. Nor can an online VIN lookup establish every title, theft or recall fact. The worksheet is for organizing evidence and negotiating intelligently; it does not certify that a trailer is roadworthy or legally transferable.
If you’re buying a travel trailer, add a specialist inspection of water intrusion, plumbing, propane, electrical systems and habitation equipment. For heavy commercial trailers, use an appropriately qualified commercial-trailer inspector and the relevant regulatory inspection standard.
For ordinary utility and cargo trailers, however, a careful sequence—documents first, structure second, running gear third, total cost last—can make an unfamiliar purchase much easier to judge.
Editorial sources and scope
This guide uses publicly available instructions from Dexter Group, NHTSA, CURT and the Texas DMV. The examples and cost figures are independently constructed teaching scenarios, not reported customer experiences, manufacturer specifications or market quotations. Rules and condition vary by state, trailer and component. Check the latest applicable guidance at the point of purchase.